
A pot and pan cabinet organizer can turn the most frustrating cabinet in your kitchen into the easiest one to use. Instead of stacking heavy pans, losing lids, and pulling everything out to reach the pan at the bottom, every piece gets its own place. The trick is not buying the most expensive rack you see online. It is matching the organizer to your cabinet size, your cookware weight, and the way you actually cook.
Most of the top results for this keyword are product lists. They show you racks, but they rarely tell you how to measure, how much weight a rack can hold, or what to do with lids and baking sheets. This guide fills those gaps, so you can choose once and stop reorganizing every few months.
What Is a Pot and Pan Cabinet Organizer?
A pot and pan cabinet organizer is any insert, rack, divider, or pull-out that keeps cookware upright, separated, and easy to reach inside a kitchen cabinet. It replaces a tall stack of pans with vertical slots, tiered shelves, or a sliding tray. Good organizers protect nonstick coatings, stop lids from sliding around, and use the full height of a deep base cabinet instead of only the bottom few inches.
They work best in deep base cabinets, usually 24 inches deep, where pans disappear at the back. They are less useful in shallow upper cabinets, where a simple shelf or a hanging rack may be a better fit. If you are planning a wider kitchen update, read our guide to how to design a functional kitchen before you buy anything fixed in place.
Measure First: The Step Most People Skip
Measure the inside of your cabinet, not the outside. Take a tape measure and record the width, depth, and height between the cabinet floor and the underside of the shelf or drawer above it. Leave at least half an inch of clearance on each side so a pull-out can slide freely, and check the door opening too, because a rack that fits inside the cabinet may not fit through the door.
| Cabinet size | What usually fits | Best organizer type |
|---|---|---|
| 12 to 15 inches wide | 2 to 3 pans, lids on a door rack | Vertical divider rack |
| 18 to 21 inches wide | 4 to 5 pans plus lids | Adjustable rack or single pull-out |
| 24 to 30 inches wide | Full set, Dutch oven, baking sheets | Two-tier pull-out |
| Deep corner cabinet | Large pots, rarely used pieces | Pull-out with lazy Susan or blind-corner tray |
Also weigh your heaviest pieces. A cast-iron skillet or Dutch oven can weigh 12 to 20 pounds on its own. Add three or four of them and a light wire rack will bend. For heavy cookware, look for a stated weight limit of at least 50 pounds, steel construction, and full-extension ball-bearing slides if you choose a pull-out.
The 5 Main Types, Compared
| Type | Best for | Typical cost | Downside |
|---|---|---|---|
| Adjustable divider rack | Renters, light pans, quick fix | $15 to $40 | Can slide if not weighted down |
| Vertical pan and lid rack | Everyday pans and lids | $20 to $45 | Tall pans may not fit under a shelf |
| Pull-out tier rack | Deep cabinets, bad knees or back | $40 to $140 | Needs screws and exact measurements |
| Built-in roll-out shelf | Heavy cast iron, permanent upgrade | $150 to $500 | Costly and hard to move |
| Deep drawer organizer | New kitchens, wide drawers | $25 to $80 | Only works if you have deep drawers |
Adjustable racks are the safest first buy. You can test the layout for a few weeks, move the dividers as your set changes, and take the rack with you if you move. Pull-outs are the better long-term answer for deep cabinets, because they bring the back of the cabinet to you. For a closer look at sliding storage, see our cabinet pull-out for pots and pans guide.
How to Organize Pots, Pans, and Lids in 30 Minutes
- Take everything out and wipe the cabinet floor. You cannot organize what you cannot see.
- Group pans by use: daily pans together, baking sheets together, and rarely used pieces together.
- Keep lids with their pans, or store all lids upright in one divider section.
- Put the pans you use every week at the front and at waist height. Move specialty pieces to the back or a higher shelf.
- Place a pan protector, folded towel, or silicone pad between stacked nonstick pans if you must stack any.
- Leave one empty slot. A full organizer is hard to use, and your set will grow.
- Test the door: open and close it, pull the rack out, and lift the heaviest pan in and out before you screw anything down.
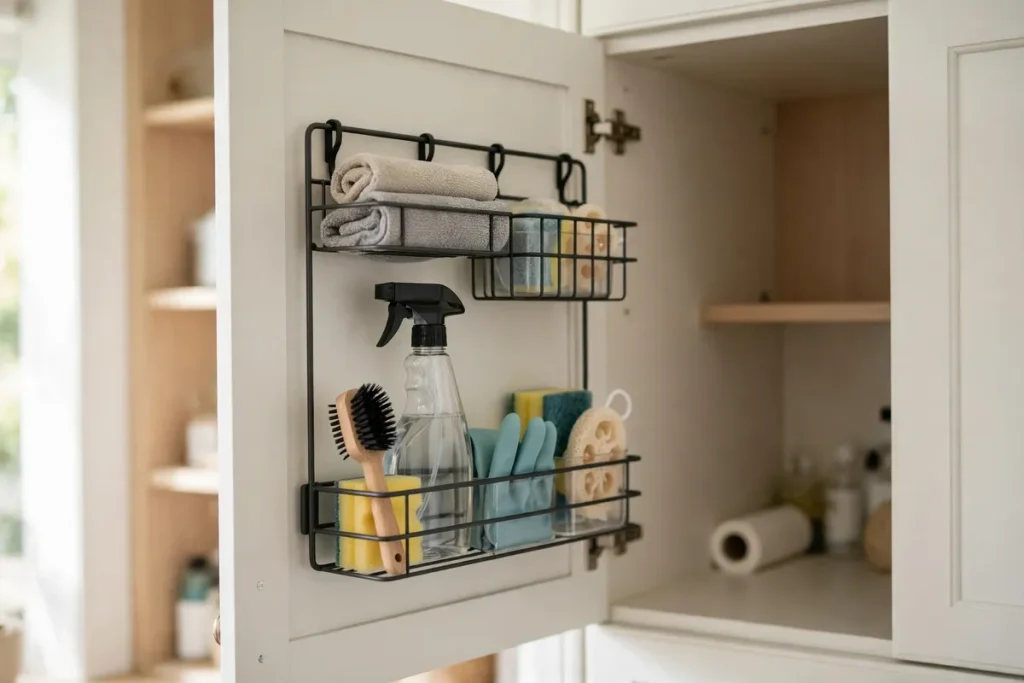
Do not forget the cabinet door itself. A slim door-mounted rack is one of the cheapest ways to store lids, and it uses space that is otherwise wasted. Our cabinet door storage ideas show how to use that space in kitchens, bathrooms, and other rooms without drilling into the door frame in a rental.
Best Choices for Common Situations
Heavy cast iron and Dutch ovens
Choose a low, wide pull-out or a built-in roll-out with a high weight rating. Store cast iron on the bottom tier only, with lids beside it, not on top of it. Avoid tall vertical racks for these pieces, because lifting a heavy Dutch oven over a divider is awkward and can chip the enamel.
Small kitchens and rentals
Choose a freestanding adjustable rack that needs no screws, plus a door-mounted lid rack that hangs over the door. Both come out cleanly when you move. Measure the cabinet height first, because many rental cabinets have a fixed shelf that limits tall pans.
Baking sheets, cutting boards, and lids
Store these upright in a narrow vertical divider, ideally in a cabinet next to the oven. Flat items take up far less room on edge than they do stacked, and you can see every sheet at a glance. Keep them separate from heavy pans so they do not get bent.
Mistakes to Avoid
- Buying before measuring the inside width, depth, and height.
- Choosing a rack with no stated weight limit for cast iron.
- Stacking nonstick pans without a protector between them.
- Filling every slot, so nothing can be lifted out easily.
- Storing lids in a separate cabinet from their pans.
- Ignoring the door swing and hinge clearance for a pull-out.
How Much Should You Spend?
For most kitchens, $25 to $60 buys a sturdy adjustable rack that lasts for years. Spend $80 to $140 if you want a good pull-out for a deep cabinet, and $200 or more only if you are fitting a permanent roll-out for heavy cookware. Price is a poor guide on its own: check the material, the weight limit, the slide quality, and whether the dividers move. A $30 steel rack with adjustable dividers often beats a $90 fixed rack that fits only one pan size.
Frequently Asked Questions
What is the best pot and pan cabinet organizer?
There is no single best organizer. For most people, an adjustable steel divider rack is the best starting point, because it fits many cabinet sizes and needs no installation. For deep cabinets or heavy cast iron, a two-tier pull-out with a 50-pound or higher weight rating is the better long-term choice.
How do I organize pots and pans in a deep cabinet?
Store pans upright in dividers or on a pull-out tray, keep lids in their own section, and put daily pans at the front. Avoid stacking more than two pans, and use a pull-out so you do not have to reach to the back of a 24-inch-deep cabinet.
Can I use a pot and pan organizer in a rental?
Yes. Choose a freestanding rack and an over-the-door lid holder that need no screws or drilling. Both can be removed without damage, and you can take them to your next home.
Where should I store pot lids?
Store lids upright in a divider or on the inside of the cabinet door, in the same cabinet as their pans. Flat stacking makes lids hard to find and easy to drop, while upright storage lets you see each lid at a glance.
Conclusion
A good pot and pan cabinet organizer is not about buying more storage. It is about giving every pan and lid a place you can reach without moving five other pieces first. Measure your cabinet, match the organizer to the weight of your cookware, and leave room to grow. Do that, and the cabinet you used to avoid will become one of the easiest parts of your kitchen to use.